
A hole to fill, a shelf to fix, a room to repaint: most DIY projects at home fail even before the first drill stroke. The cause is rarely a lack of talent. It is more often due to poor site preparation, an unsuitable tool, or a misidentified material. Successfully completing home projects relies on a few concrete principles that online tutorials often skim over too quickly.
Hidden risks in the walls: asbestos, lead, and old materials
Before drilling, sanding, or breaking anything, one question deserves to be asked: do you know what your walls contain? In homes built before 1997, asbestos can be found in floor tiles, adhesives, fiber cement boards, or pipes. You should neither drill, saw, sand, nor break a suspicious material. The removal of asbestos falls under a specialized sector and strict local regulations at waste disposal sites.
Lead poses a similar problem. Old paints can expose the DIYer during sanding or stripping. This risk falls under the Public Health Code, particularly through the CREP (lead exposure risk report) in older homes. A simple sanding of lead paint releases dangerous particles for the nervous system.
Specifically, before any renovation project in an old home, consult the available property diagnostics. If you do not have them, avoid touching materials whose composition you do not know. This reflex can save you from a health problem far more costly than a professional quote.
Passionate DIYers embarking on renovations often overlook this step, focused on the aesthetic result rather than the nature of the existing support.
Choosing your DIY tools: the minimum that changes everything
Accumulating tools does not make a project simpler. However, using the right tool at the right time transforms the quality of the result. The difference between a solid assembly and a wobbly piece of furniture often comes down to one parameter: the precision of tightening or drilling.
Tools to prioritize for beginners
- A drill-screwdriver with variable speed, which allows for slow screwing into soft wood without splitting the grain, then drilling into concrete with an appropriate bit.
- A rigid tape measure and a spirit level, because most visible defects come from an approximate measurement, not a lack of skill.
- A set of interchangeable screwdriver bits (Phillips, flat, Torx), more versatile than a collection of individual screwdrivers.
- Clamps: they serve as a third hand to hold pieces during gluing, drilling, or sawing.
Before buying a specialized tool, check if it will be used more than once. For occasional use (circular saw, belt sander, heat gun), renting at a DIY store remains more relevant.
Site preparation: the phase that no one wants to do
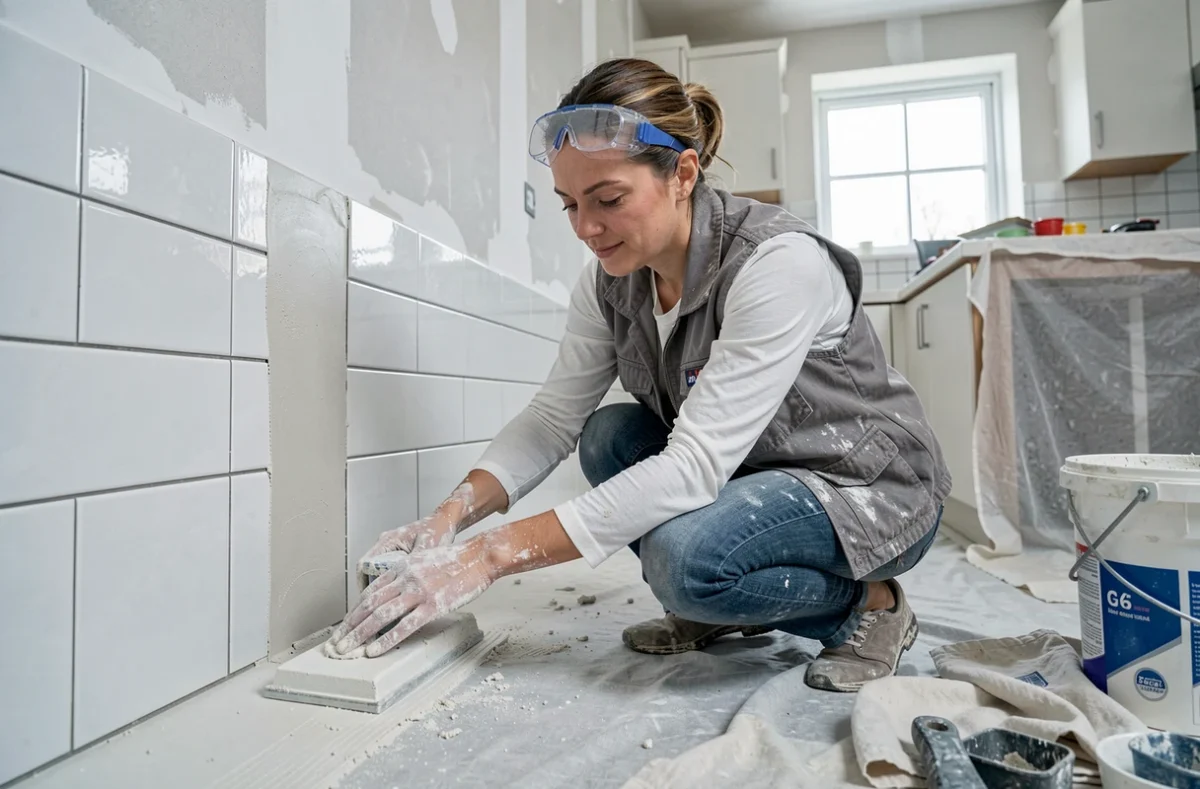
Have you noticed that DIY projects that drag on are those where the preparation was rushed? Protecting the floor, moving furniture, applying masking tape: these actions take time, but they halve the cleaning time and improve the finish.
List all the necessary materials before starting. A round trip to the store in the middle of a project breaks the rhythm and encourages mistakes. Note the exact references (type of plug, screw diameter, paint shade) to avoid approximations in the aisle.
Managing construction waste from the start
Since 2023, the REP building sector mandates the free collection of many waste products sold by distributors, under sorting conditions. For a home project, you must separate rubble, plaster, wood, metals, plastics, and hazardous waste.
Check before the work the collection points available near you. Mixing waste in a single bag makes disposal more complicated and sometimes costly. A bucket for each category of waste, set up from day one, simplifies this step.

Reuse of materials in DIY: economical but not without control
Recovering planks, door handles, or old tiles for a DIY project is appealing both for the budget and the aesthetics. Reuse is progressing in home DIY, but it requires technical validation and not just a quick glance.
A reclaimed wood panel may be warped, waterlogged, or weakened by wood-eating insects. An old door may have non-standard dimensions that complicate installation. Before reusing a material, three checks are necessary:
- Check the actual dimensions with a tape measure (old standards do not always match current fittings).
- Verify the absence of old chemical treatment, especially for wood that will be sanded or used indoors.
- Test the structural integrity: a surface-cracked tile can break cleanly under a drill, and a soft board can warp under load.
Successful reuse combines common sense, precise measurements, and technical compatibility with the existing support. A poorly evaluated reclaimed material generates more work than a standard new material.
DIY techniques: progressing through repetition, not theory
Watching tutorials gives an idea of the gesture. Reproducing it correctly requires practice on material scraps. Before laying tiles in your bathroom, glue a few tiles on a test board. Before painting an entire wall, apply two coats on a rigid cardboard to check the shade and finish.
This trial-and-error approach reduces material waste and increases confidence. It also allows you to identify a technical problem (too much pressure, insufficient drying time) without consequences for the final project.
DIY workshops offered by certain brands or associations provide a structured environment to acquire the basics. Working with wood, applying a coating, or installing an electrical outlet in a workshop, with an instructor and tools available, remains the fastest way to improve skills.
A DIY project at home requires neither innate talent nor professional equipment. It relies on knowledge of the support, the choice of suitable tools, meticulous preparation, and the willingness to test before committing to the final project. The first reflex to adopt, especially in an old home, is to know what you are touching before knowing how to transform it.